Thursday, December 10, 2009
The Moving Process
My new room mate is quite crafty as well and that means I have a buddy to combine forces with to make the ultimate pieces of work.
I should be getting a Dremel here soon >_<
I'm anxious and stressed so bare with me here.
Sunday, November 22, 2009
Books > Completed Projects
So, I'm going to go through each book and make all of the contents it has to show. What do I have in my library thus far?
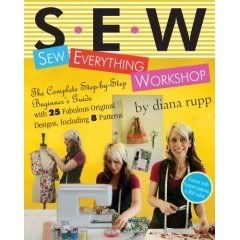
'Sew Everything Workshop' by: Diana Rupp
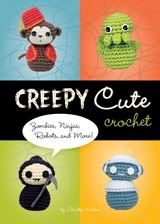
'Creepy Cute' by: Christen Haden
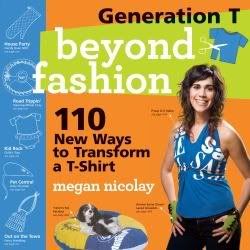
'Generation T: Beyond Fashion' by: Megan Nicolay


'Home Rockanomics' by: Heidi Minx

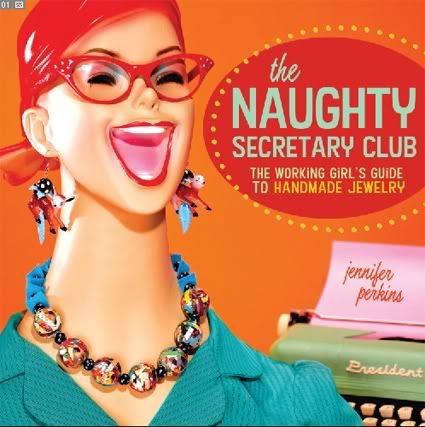
'The Naughty Secretary Club The Working Girl's Guide to Handmade Jewelry' by: Jennifer Perkins
My lost books that I must find immediately:
'Crafty Chica's Art de la Soul: Glittery Ideas to Liven Up Your Life' by: Kathy Cano Murillo
'The Big Ass Book of Crafts' by: Mark Montano
'Alternacrafts' by: Jessica Vitkus
Bring on the motivation, coffee, and patience......and more coffee.
Wanted Tools
Spoon Pendants by Jean
| In this article, I share a nifty tutorial on how to make a spoon pendant (as well as a few other variations made with the same process!). My inspiration was this project by Craftster member rhodora. rhodora used a jewelry saw to create her pendant, but since I don’t have access to one, I turned to my trusty Dremel! I use my Dremel for all sorts of crafty purposes such as glass etching, polishing, carving and making recycled jewelry. I’ve created some really awesome Altoid tin pieces by stripping the paint and engraving gorgeous and intricate little patterns on them with the Dremel. Around our house, I’ve used the Dremel for installing wall outlets, repair work on our motorcycles, and THE BEST THING EVER, re-slotting stripped screws. |

 |  |
 |  |

 | Supplies: Dremel 688-01 Cut-off Wheel Accessory Set |
 | Step One: Design an image on the spoon with a marker. |
 | The possibilities are endless for designs! Think of abstract images, symbols, holidays or just simple and fun shapes. |
 | Step Two: Cut your image from the spoon. I use a Tungsten Carbide Cutter for this step. Make an initial hole in the spoon and then slowly work outward until your entire image is detailed. I find it helpful to secure the spoon in a workbench with clamps for this step. |
 | Step Three: Have fun by creating swirls, texture and designs with other attachments. I like to create a hammered appearance on some of my pieces. This will eliminate any accident scratches or marks on your piece as well. |
 | Step Four: Cut the handle of the spoon with a Dremel Cut-Off Wheel. Be sure to leave enough handle to create a loop at the top of the pendant. |
 | Step Five: Use pliers to bend the top of the spoon to create a loop. Depending on your strength and the thickness of your spoon, you may need to use gloves or two pairs of pliers for this step. Make your bends slowly. Be careful not to bend back and forth too quickly or you might break the neck of the spoon. If the pliers make marks on your spoon, just repeat Step Three. |
 | Completed Project! Add a ribbon, chain or cord and your necklace is compete! |
Thursday, November 19, 2009
The Dream Sleeve Project
Three tattoos later I'm ready to move on to something bigger. I was once attached to the idea of a 'Where the Wild Things Are' sleeve, however I decided to get Max on my foot instead. (Let's admit there are a bunch of 'Where the Wild Things Are' sleeves since the movie came out. It would be hard to keep it original.) I wanted to at least get something done since it was my favorite childhood book.
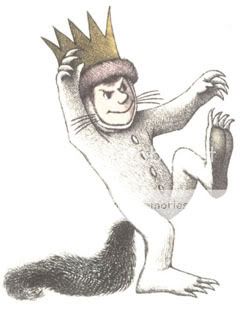
Now I need different artwork to occupy the residency which is my arm. I'm currently doing some research on my favorite artists.
I've decided to save the images to my desktop, then compare, contrast, and dilly dally to birth the tattoo that screams, "BETH!!!"
Among the inspiring artists are:
Audrey Kawasaki
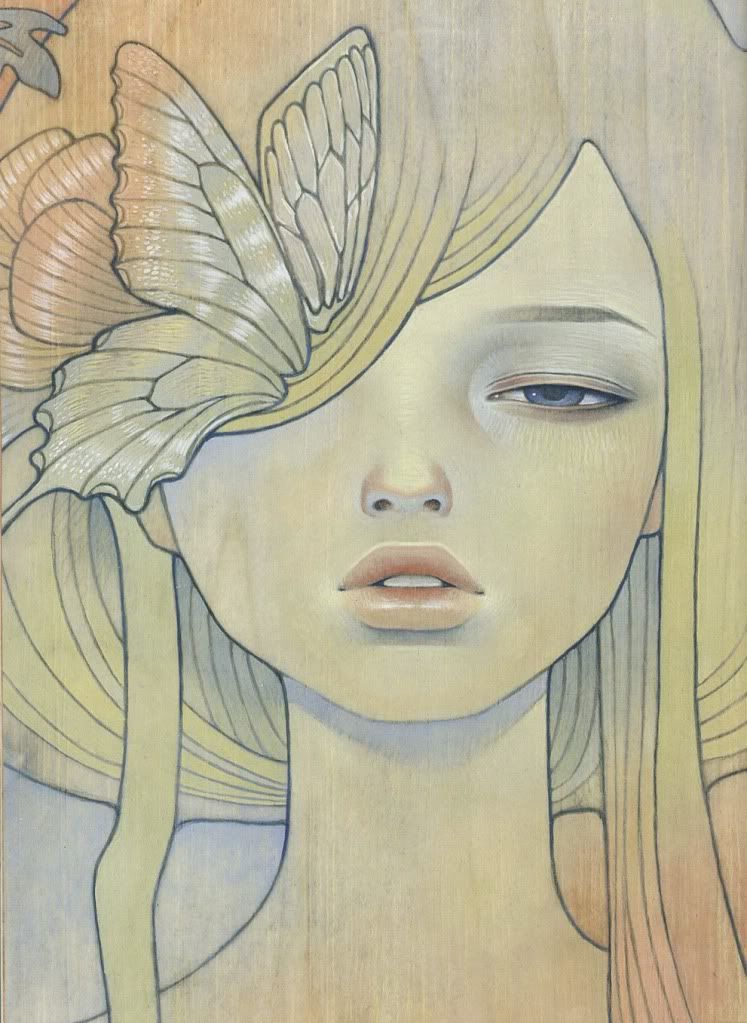

Amy Sol
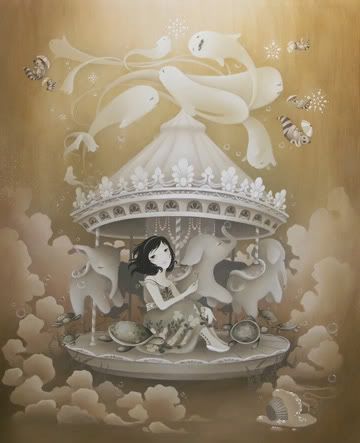

Miss Van

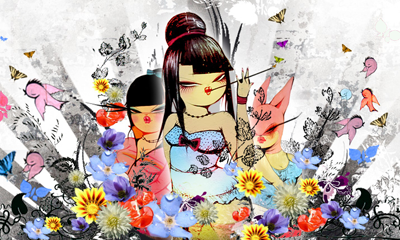
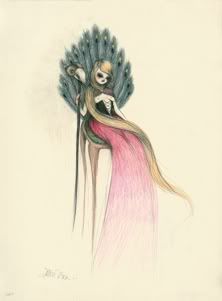
Chiho Aoshima

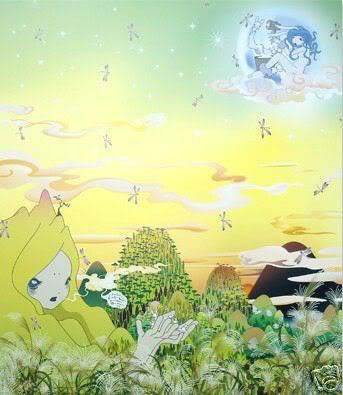
I want something that incorporates nature (not new age), cutesy (obviously), zombie-esc, with lots of color. I might just draw it out myself. I'll keep you posted.
(Grandma, I know you're reading this and I know I will have this on my arm forever, but I really don't mind being an old lady with tattoos.)
Wednesday, November 11, 2009
Craft Swap
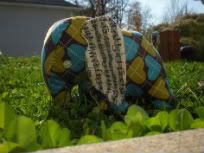
An elephant for her 2 year old!
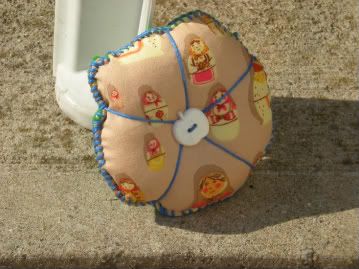
This sweet pincushion. I could have easily kept for myself.
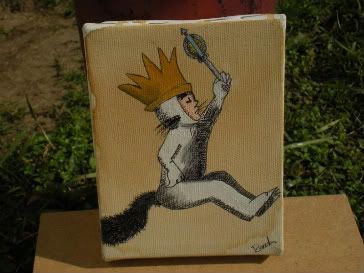
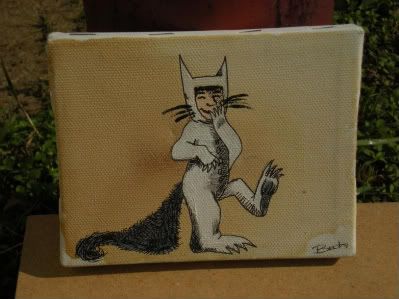
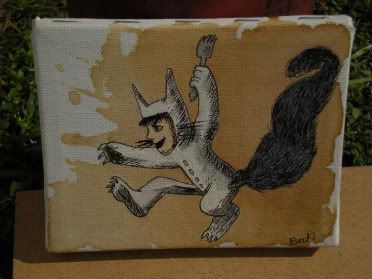
Where the Wild Things Are Series of Max mini paintings.
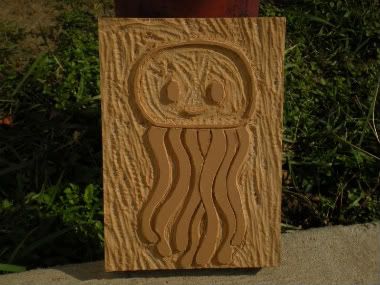
I also made her a linoleum block, in which I carved a jellyfish. It's basically a large stamp.
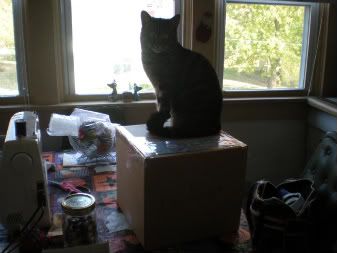
Leo couldn't wait to send it to the post office.
Monday was my birthday. After a long, exhausting, but fun day I found bunnyface's package on my bed. It entailed.....
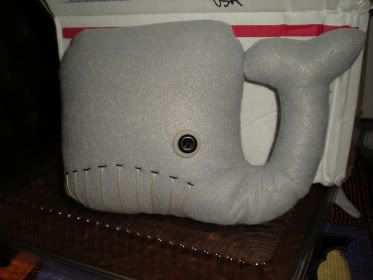
This amazingly cute whale. I call him Wally.
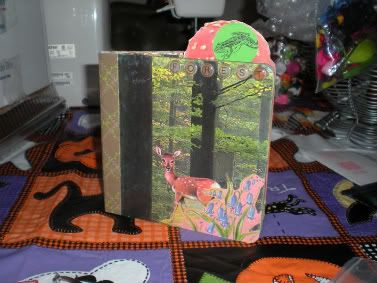
'Deep in the Forest' an altered book made by bunnyface herself. It's so awesome and her first altered book. It looks amazing.
And last but definitely not least......
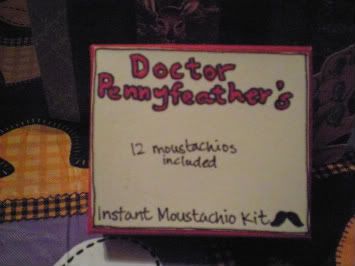
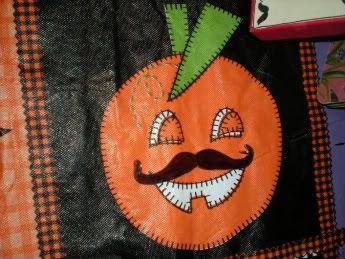
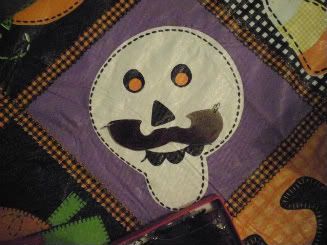
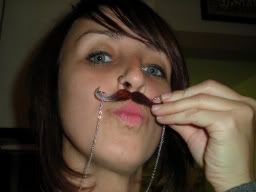
MUSTACHIOS!!
It's a necklace with interchangeable mustaches!
Thank you Bunnyface!!

